Portfolio
Portraits
Landscapes
Weddings
Getting ready
Sealing the deal
Truly yours
Little things
Raise the roof
Editorials
One day I’ll fly away
I’m a fool to care
When the walls had ears
Prague Noir
Chased
Amélie
Lea
Anna
Jill
Viva Berlin
Beauty & Beast
Barcelona
About/Contact
Legal Info
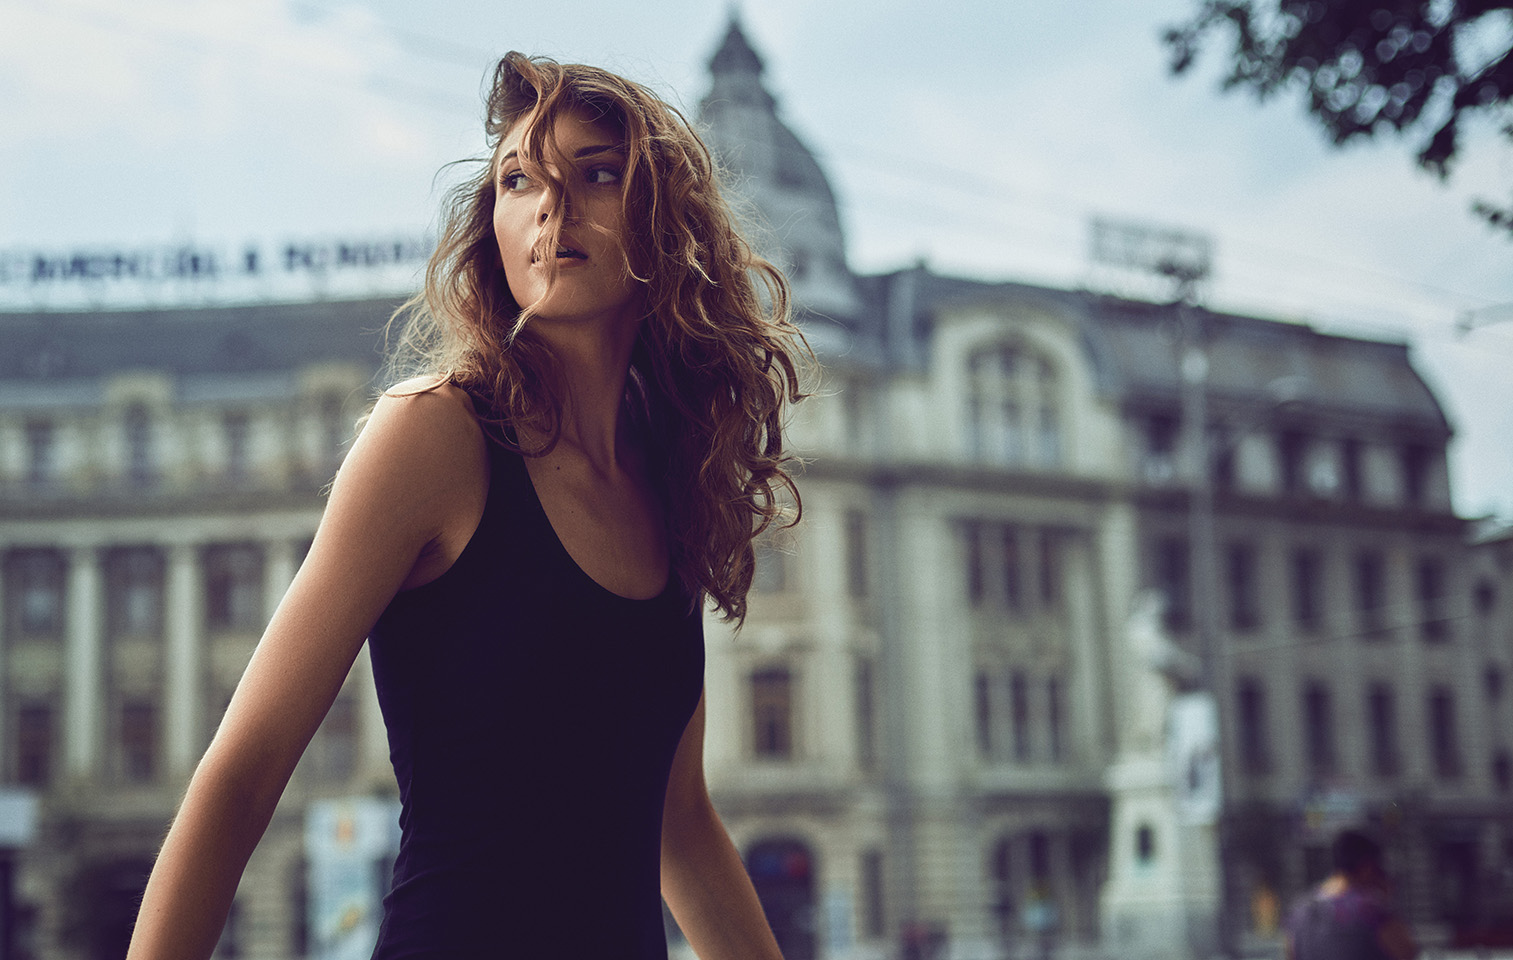
One day I’ll fly away
Model: Adriana Bexa
MUA: Loagar Izabela
Co-Production:
Philipp Pohl